Basic forward vehicle movement uses the W key. When advancing forward by pressing and holding the the W key, use the mouse left and right to turn while moving.
Use the A key to sidestep left and the D key to sidestep right.
When traveling around the worlds, you will often encounter obstacles such as craters or hills that your vehicle will have difficulty traversing. Use the E key to use your vehicle's turbo thruster to jump. This capability works best when a forward motion key is also in use. The greater your vehicle's forward momentum, the higher it will jump.
The Battlezone Combat Exercises are vital to players new to this type of game. They will talk you through learning to pilot the vehicle, communicating with other units, and targeting enemies.
Basic Shooting and Weapon Controls
Use the left mouse button or the numeric keypad Insert key to fire your
weapon. The right mouse button or the numeric
keypad Enter key will allow you to scroll through the weapons
to select one. Use the F8 through F12 keys to have single-touch access
to the weapons. The F8 key will select the first weapon, the F9
key will select the second weapon, and so forth. Press Ctrl-F8 through Ctrl-F12
to link similar weapons to one another.
Targeting
 |
To target an enemy, press T when the enemy is in visual range. The on-board computer will automatically lock on to the heat signature of the enemy vehicle and remain locked. The targeting brackets will be displayed which show the range to the vehicle and any damage that the vehicle has sustained. The target camera will be displayed which will continually show the location and actions of the targeted vehicle. If an enemy has not been previously targeted and it is hit by a pilot's fire, it will be automatically targeted and the targeting information will be collected. |
On Foot
 |
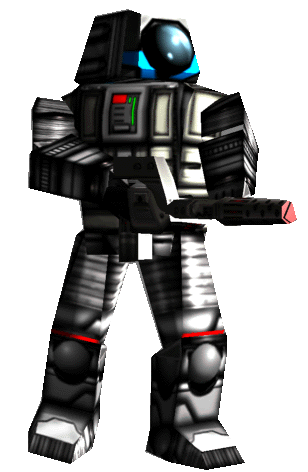
When on the ground, use the keyboard and mouse to move in the same way it is used for vehicles. Pilots traveling around outside of a vehicle can call a friendly unit for pickup or commandeer an enemy unit. However, pilots are more vulnerable when outside of their vehicles. They can be fired upon by enemies. Yet, no pilot is defenseless when on foot. Each is issued a plasma weapon and a sniper rifle and can fire at enemy vehicles or other pilots outside of vehicles. |
Commandeering Vehicles

When on foot you may use your standard-issue sidearm in long-range sniper mode to fire upon enemy vehicles, killing the pilot and thus making the vehicle available for your use.
Switching to the Sniper Rifle will cause you to crouch and raise the rifle to your shoulder, activating the thermal sniper scope.
The Sniper Rifle will show an enemy pilot as a bright white dot when the enemy vehicle is in visual range. Eliminate the enemy pilot and that vehicle will become available for confiscation.
Vehicles that may be commandeered:
| APC
Minelayer Scavenger |
Artillery
Razor Tank |
Heavy Razor
Rocket Tank Turret |
Controlling Units
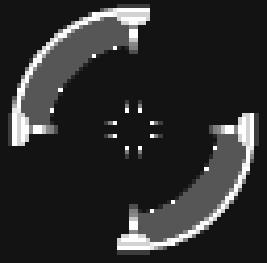
Use the Smart Reticle to control friendly units. This targeting
reticle also serves as a communications link to the Recycler, buildings, and mobile
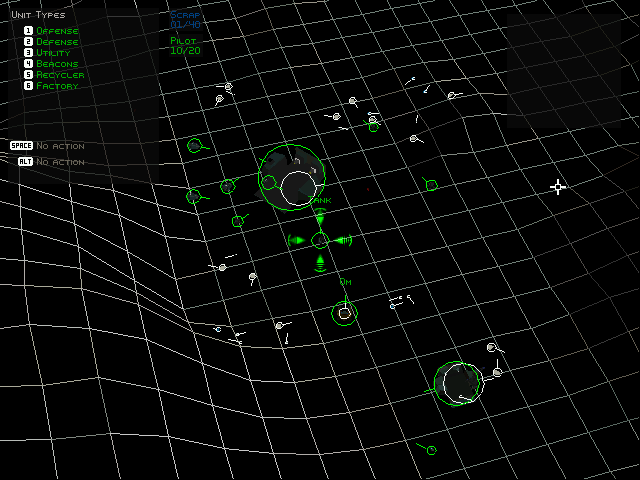
units. Point the reticle at the desired apparatus and press the space bar to communicate. Possible commands will be listed in the upper left of the console. Choose the desired command and press the corresponding button. Capable structures will carry out commands immediately and check in when
completed.
Quick Keys
F1 through F7 can be mapped to command multiple player-selected units as a group.
To do this, hold down the Ctrl key and select a unit or units from the
Command Interface. Then, while holding down the Ctrl key, press a function key
from F1 to F7. You should hear a click. Now, whenever you press the selected function key, you can send commands to all of the units in that group at once.
The Map
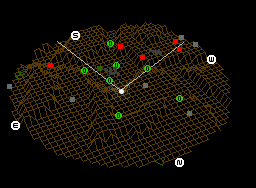
| A topographical map is located to the lower left of the vehicle console. Many hours of
surveying were done and the latest satellite information has been implemented. This map
has been engineered to alert pilots to topographic hazards as well as to ensure that the
planet's environment can be used as an asset to skilled dogfighters. A floating
directional compass is superimposed on the map to allow pilots to chart their courses and
move according to orders.
Radar information is also shown on this map. Enemy vehicles and encampments are displayed in red, friendlies in green. |
 |
Command Interface
The command interface will display the location of units on the map when friendly units are selected. The command interface allows a pilot to build and control units. The highest level of the command interface is unit categories: offensive, defensive, etc.

Pilots and Scrap Meters
Next to the command interface there are two important resource indicators: Pilots and Scrap.

Pilots will indicate how many pilots you have under your command. Most vehicles that you build will require a pilot. If you do not have any pilots available, you will not be able to build that unit. Every mission starts with a fixed number of pilots. If you need more pilots, you must build a barracks, which will add five more pilots. When a vehicle is destroyed, there is a possibility that the pilot will eject and return to base. If this happens, that pilot will become available to command another unit.
The Scrap Indicator shows how much of the bio-metal scrap you have collected with your Scavengers. Everything that you build will require a certain amount of scrap. If you do not have enough scrap, items that you cannot build will be unavailable in the Build menu. If you run out of scrap, it is possible to take units that you have built and order them to be recycled. Select a unit and choose the Recycle option from the Command menu and that unit will return to the Recycler and turn into scrap.