
Akara
Den of Evil
Kill all the monsters in the Den
one skill point, given by Akara
 Blood Moor
 Den of Evil
(W) indicates a Waypoint location
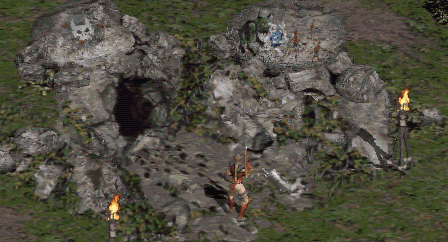
Entrance to the Den of Evil
| Printable version of Act I Quests |
| The Den of Evil | ||||
Quest Icon |
Quest Given By Akara |
Quest Location Den of Evil |
Quest Goal Kill all the monsters in the Den |
Quest Reward one skill point, given by Akara |
How to get there: Rogue Encampment (W)
 Blood Moor
 Den of Evil
(W) indicates a Waypoint location | ||||
| Enter the Den, which is a single-level cave, and kill all the creatures that you find. You will come across a unique zombie, named Corpsefire. When you have killed all of the creatures, you will see shafts of light streaming through the Den. Return to camp, and talk to Akara for your reward. | ||||
 Entrance to the Den of Evil |
||||

| Sisters' Burial Grounds | ||||
| Quest Icon |
Quest Given By Kashya |
Quest Location Burial Grounds, off the Cold Plains |
Quest Goal kill Blood Raven  |
Quest Reward a rogue mercenary, and the ability to hire more |
How to get there: Rogue Encampment (W)
 Blood Moor
 Cold Plains (W)
 Burial Grounds
(W) indicates a Waypoint location | ||||
| You must kill Blood Raven, a corrupted rogue, who can be found in the Burial Grounds. Blood Raven has 50% resistance to magic, cold, fire, lightning, and poison, and the ability to raise skeletons and zombies. Once she has been killed, the lightning effects of her death will kill all the creatures in the area. When you've killed her, return to the Rogue Encampment and speak with Kashya to receive your reward. In the Burial Grounds, you will also find two dungeons, the Crypt and the Mausoleum, which are optional, but will help to increase your character's experience. |
||||
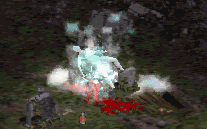 Blood Raven's Death |
||||

| Search for Cain | ||||
| Quest Icon |
Quest Given By Akara |
Quest Location Dark Wood, Stony Field, Tristram |
Quest Goal retrieve the Bark Scroll, activate the Cairn Stones, rescue Cain |
Quest Reward a magic ring, and item identification for free |
How to get there: Rogue Encampment (W)
 Blood Moor
 Cold Plains (W)
 Stony Field (W)
 Underground Passage (2 levels)
 Dark Wood (W)
(W) indicates a Waypoint location | ||||
After completing the Blood Raven quest, Akara will ask you to rescue Cain from Tristram. In the Dark Wood, search for the Tree of Inifuss, and click on it to obtain the Bark Scroll. Near the Tree, you will encounter Treehead Woodfist, a unique Brute. Return to camp and give the scroll to Akara, so she can translate it for you.
Go back to the Stony Field, and locate the Cairn Stones. Using the Bark Scroll, click on the Cairn Stones in the sequence indicated to activate them. Once they are activated, a portal will open in the center of the stones, which will take you to Tristram. Enter the portal, and kill all the creatures (including a cursed Griswold); click on Cain's cage and he will be released. While wandering around Tristram, be sure to locate and click on Wirt's dead body; you'll get back some of the cash you wasted on him, and his peg leg, which you should keep to open the portal to the Cow Level. Follow Cain through the portal, or find your own way back to camp. Speak to Akara, and she will give you a magic ring; Cain will now identify items for free. If you do not complete this quest, Cain will identify items in the following acts, but he will charge you. |
||||
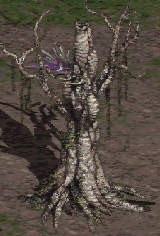 The Tree of Inifuss |
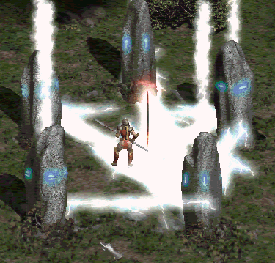 The Cairn Stones |
 Griswald |
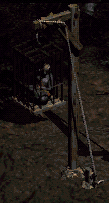 Cain Caged! |
|

| The Forgotten Tower | ||||
| Quest Icon |
Quest Given By the Moldy Tome |
Quest Location Stony Field, Black Marsh |
Quest Goal kill the Countess |
Quest Reward items found in the chest |
How to get there: Rogue Encampment (W)
 Blood Moor
 Cold Plains (W)
 Stony Field (W)
 Underground Passage (2 levels)
 Dark Wood (W)
 Black Marsh (W)
(W) indicates a Waypoint location | ||||
| Activate this quest by reading the Moldy Tome in the Stony Field. The Forgotten tower is located in the Black Marsh, and has five levels. The Countess will be found on the fifth level, guarding a chest full of goodies. She is a Dark Hunter, who specializes in Fire Walls. | ||||
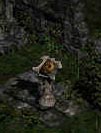 The Moldy Tome |
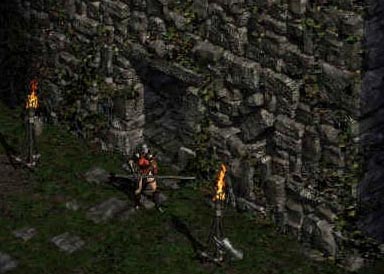 The Forgotten Tower |
 The Countess |
||

| Tools of the Trade | ||||
| Quest Icon |
Quest Given By Charsi |
Quest Location Barracks |
Quest Goal retrieve the Horadric Malus |
Quest Reward Charsi will give an item magic properties |
How to get there: Rogue Encampment (W)
 Blood Moor
 Cold Plains (W)
 Stony Field (W)
 Underground Passage (2 levels)
 Dark Wood (W)
 Black Marsh (W)
 Tamoe Highland
 Monastery Gate
 Outer Cloister (W)
 Barracks
(W) indicates a Waypoint location | ||||
| The Malus will be found in the Barracks, protected by the Smith, a special, extra stong unique. The Malus is located on the forge, which is behind the Smith. Kill the Smith, grab the Malus, and return it to Charsi, and she will give you your reward. When imbuing an item, the item cannot be magical or socketed, nor can it be a thrown or jewelry item. Charsi will turn the item into a rare item, by adding 3-5 magical attributes to it. You can choose to wait until later in the game to imbue an item, since the quality of the attributes added to it are based on your character's level. |
||||
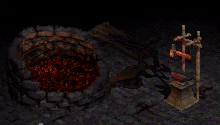 The Malus Stand |
 The Smith |
Charsi's Hammer |
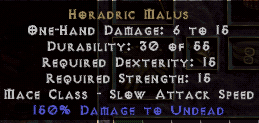 Horadric Malus Attributes |
|

| Sisters to the Slaughter | ||||
Quest Icon
| Quest Given By Cain |
Quest Location Catacombs |
Quest Goal kill Andariel |
Quest Reward items dropped by Andariel, and access to Act II |
How to get there: Rogue Encampment (W)
 Blood Moor
 Cold Plains (W)
 Stony Field (W)
 Underground Passage (2 levels)
 Dark Wood (W)
 Black Marsh (W)
 Tamoe Highlands
 Monastery Gate
 Outer Cloister (W)
 Barracks
 Jail (3 levels) (W-level 1)
 Inner Cloister(W-level 1)
 Cathedral
 Catacombs (4 levels) (W-level 2)
(W) indicates a Waypoint location | ||||
| Andariel will be found on the fourth level of the Catacombs. She is not immune to anything, but uses a poison attack, so prepare for it. When you've killed Andariel, you will receive magical items, and a portal will open, to take you back to the Rogue Encampment. Speak with Warriv, and he will now be able to take you to the East. | ||||
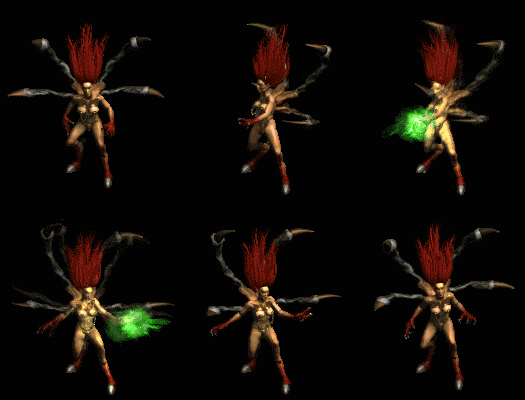 Andariel |
||||