







|
Ice Bogie Fissure Fisher Barbegazi | Yipyip Fissure Fisher |
Intro
Welcome to the Valor Habitat encounter tables. If this is your first time here, this page defaulted to showing you the Desert environment, Desert habitat.
Any other time you visit this page by clicking on the island-looking icon in the top yellow ribbon, the last habitat you visited will be displayed here.
(it is currently framed in blue in the ribbon to represent that this is the page you are on)
Too much text
Yes, there's a lot of text here. Once you're comfortable to do so, you can remove all of the explanatory text on this page
by toggling the display for the settings section in the top right settings icon (looks like a checklist) and selecting "Laconic habitat pages"
You can always turn the explanatory text back on by going back to the settings and selecting "Verbose habitat pages"
The Two Navigation Rows
The top yellow ribbon contains links to other pages for this project. For an overview of these pages, click on the icon which is a blue griffon.
From most of these other pages, you can return to this page by clicking on the island-looking icon near the right end of the ribbon.
I divide environments into habitats, and all encounter tables are for a single habitat. This page is for a single habitat.
The row of 15 environmental pictures across the top of this page, directly under the yellow navigaion ribbon, are links to the pages for those environments.
As environments are collections of habitats, those pages have from 5 to 15+ habitats. Because of the calculations used to generate the encounter tables,
some of these environment pages can take a few seconds to load, so be patient whenever you click a link to an environment page.
On the environment pages, the encounter tables for the habitats are structured differently from the d1000 table on this page.
- the Environment encounter tables are broken down into two rolls: one roll to determine the frequency category, and a second roll under the table for that frequency.
Despite the different encounter table structures, both the Habitat d1000 table and the Environment pages' two-table approach incoporate
the same odds-related settings you have selected.
Configure Encounter Ratios / Change Settings
Click on the settings icon-
The first bordered block in the settings has three sets of radio buttons:
-
The set of four radio buttons selects which chaos level to apply to the frequency calculations.
The chaos level lets you quickly switch between different ratios between the four frequency categories for the encounter tables. -
The next set of two radio buttons sets if the ratios of the selected chaos level should be applied as flat or weighted.
-
Flat: The ratios are applied only at the frequency level.
For example, a chaos level which has ratios of 4:3:2:1 (this is the ratio of common:uncommon:rare:veryrare)
means that 40% of the time you will encounter a common creature, 30% chance of encountering an uncommon creature,
and 20% for rare creatures, and 10% for very rare creatures.
"Flat" ratios do not take into account if there is a disparity (which can often be large) between the count of creatures in each frequency category. -
Weighted: The ratios are applied at the creature level.
Using the same example chaos ratios of 4:3:2:1, this means, under a "weighted" scheme:
each common creature takes up four times as many table slots as a very rare creature.
each uncommon creature takes up three times as many table slots as a very rare creature.
each rare creature takes up twice as many table slots as a very rare creature. -
Notes
-
The more the creature counts for the four frequency categories of a habitat differ, the greater the difference
you will see in the d1000 table between using weighted vs flat. -
Since we are working within the confines of a d1000 table, you probably won't see the exact ratios you defined
in the resultant table, but I believe it will be as close as possible. -
More often than not, each frequency category within the table will have some extra slots to distribute after calculating the frequency's allotted space in the table.
These extra slots are randomly distributed to creatures within that frequency (but no one creature will get more than one of the extra slots),
so each time you reload a table for a habitat, it will likely look slightly different from the last time.
-
The more the creature counts for the four frequency categories of a habitat differ, the greater the difference
-
Flat: The ratios are applied only at the frequency level.
-
The bottom set of radio buttons in this block will remove the explanatory text from the environment/habitat pages when "Laconic" is selected.
For this page (the Habitat page), "Laconic" removes nearly all of the text on this page (such as this text you are reading here).
For Environment pages, "Laconic" removes the white text block beneath each habitat picture.
-
The set of four radio buttons selects which chaos level to apply to the frequency calculations.
-
The other four bordered blocks in the settings section let you define the ratios for each of the four chaos levels.
The chaos level lets you quickly switch between different ratios between the four frequency categories for the encounter tables.
The Habitat Section
Under the two navigation rows is a section with some habitat info and settings.
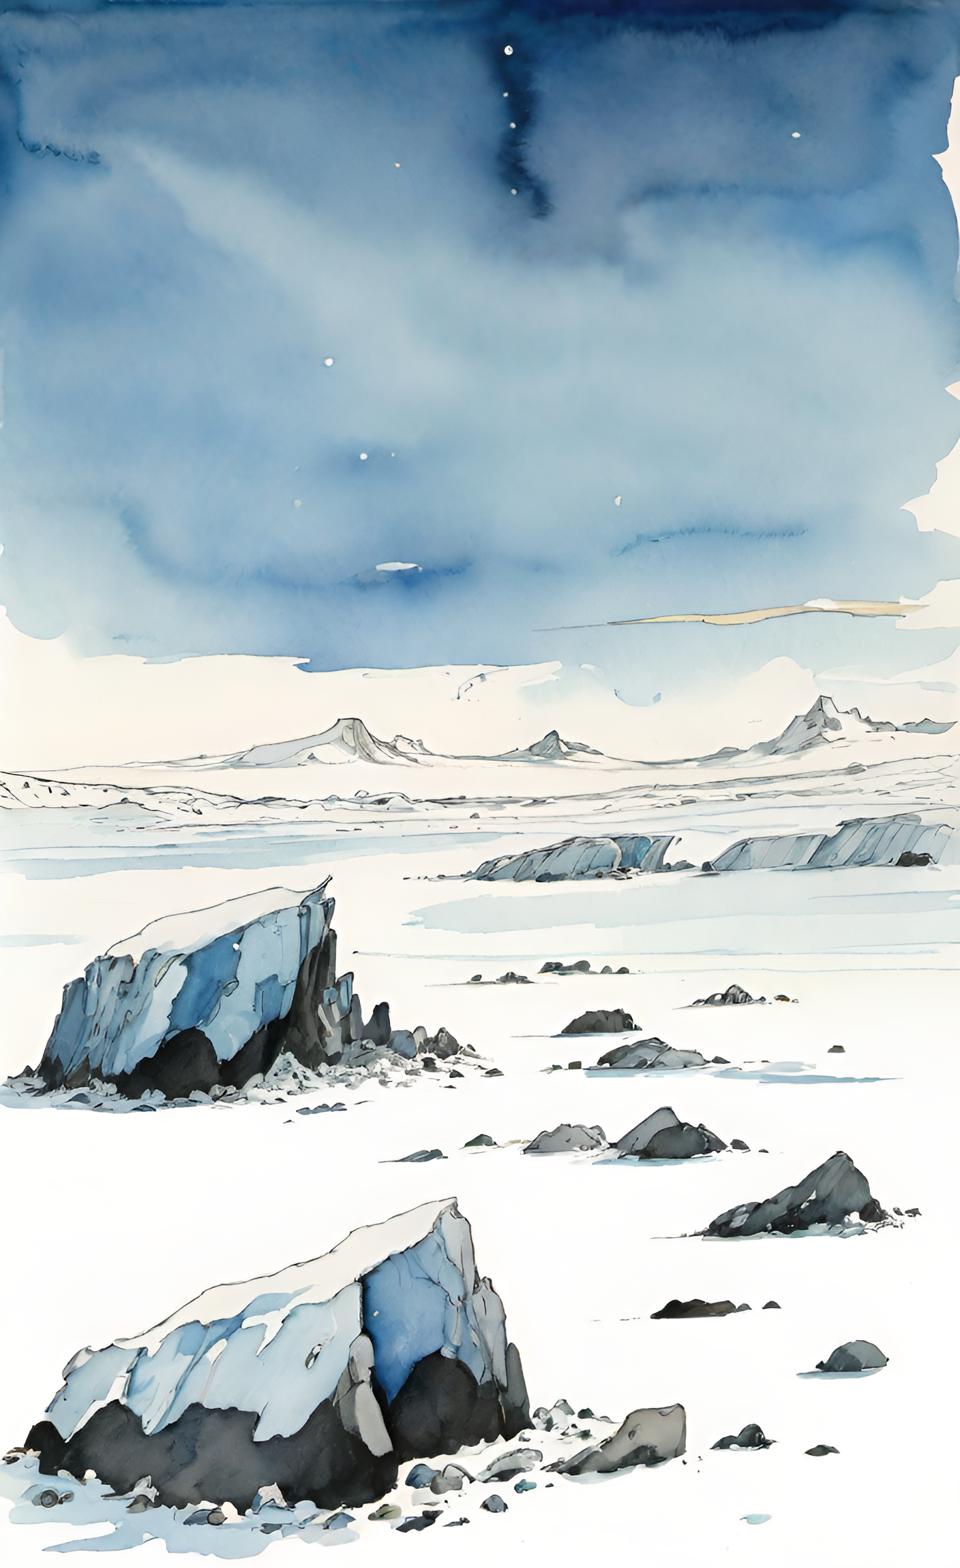
On the far left of this section is a labeled image of the currunt habitat. The image links to this habitat within the Environment page which contains this habitat.
You will want to follow this link if you want to see the two-rolls encounter table for this habitat (in contrast to the d1000 table on this page),
or if you want to see this habitat in the context of its environment (that is, on the same page with its sister habitats).
On the environment page, you will see the same image for this habitat. Clicking on the image from the environment page brings you to this habitat page.
Next to the image of the habitat is the section for switching to another habitat. The options in the dropdown for changing the environment correspond to the environment pages
linked-to in the environment links across the top of this page. Selecting an environment here changes the options available in the habitat dropdown.
Selecting a habitat in the habitat dropdown will load it onto this page.
Cullings
The Cullings section displays any cullings which are assigned to any creature for the current habitat. The cullings buttons toggle them on and off.
Click on the "Cullings" link which heads this section to learn more about cullings.
Nearly all settings are stored as cookies, so they will stay with you. Cullings are an exception. They are stored in a database,
and since this site does not yet support multiple users, somebody else toggling a culling on or off will affect anybody using this site.
I don't think that's a big deal for now. I'm just demoing the usage of the enncounter tables for now.
The usage for this table is not implemented yet, but it will be to include "spoor" as a possibility in your encounter roll. To keep things simple to begin with, the spoor would be a clue as to what "type" of creature you found spoor for ("type" in the sense of the term-of-art used in D&D: aberration, undead, animal, giant, etc...). This finding would then increase the odds of that type of creature being encountered in your next encounter roll.
The d4 Caltrops site has neat-o tables for spoor by creature type.
The table in this section is calculated with the same odds defined for the regular encounter table above.
Profile for Arctic, snow and ice fields
This section is not a table to roll on for anything. It's meant to be a way to view the population of this habitat.
Creatures are grouped by type, and then sorted by size within the types.
The first image of a row represents the creature's size. Most of the bars in the size charts encompass two size categories.
The colored circle represents the creature's frequency.
Following the creature's name are the words for the creature's size and frequency.
The final column is the creature's form. This refers to the general shape and morphology of the creature. Most creatures do not have this data populated yet.


