 |
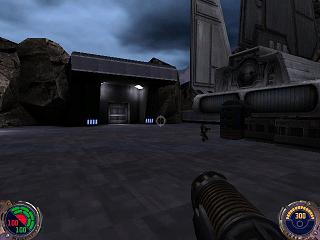
Shot
1-1
You start out here. Jan will follow you and help you through
the level. Head over for the door to your left. |
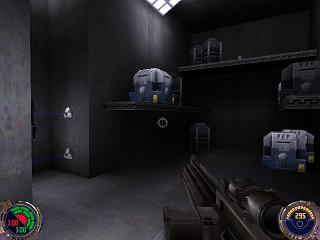 |
Shot
1-2 (Secret Area)
Open the door and jump up to the bacta tank to get to
the secret area. There are some other things hidden behind
the trip mines, so shoot them from a safe distance. After
that, go on past the shuttle and follow the path. |
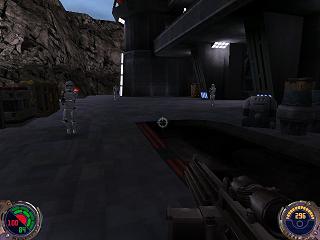 |
Shot
1-3
You should now be here. Take out the troopers. The door
can't be blown by blasters, so you will have to find something
that will work. Go forward to the edge and take a right.
Enter the room and open the door. |
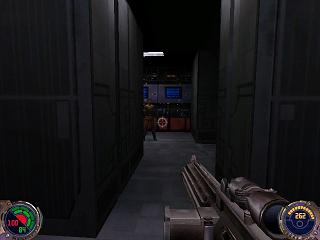 |
Shot
1-4
Shoot this officer and collect his supply key. Take the
lift up and take a right. Take the small lift up. |
 |
Shot
1-5
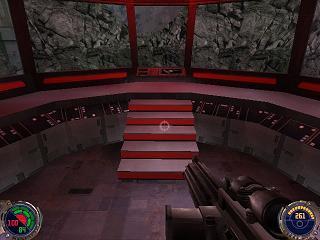
Flip this switch which activates the perimeter guns. Take
the lifts back down and go outside. |
 |
Shot
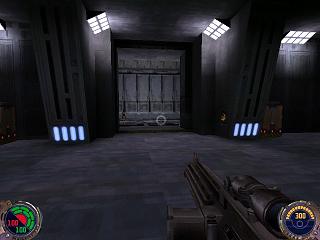
1-6
Get on the gun and shoot the door. Go onto the lift. When
the lift reaches the bottom get off but don't open the
door. Wait for the lift to go back up. Fall down into
the area and go through the door. Head right. |
 |
Shot
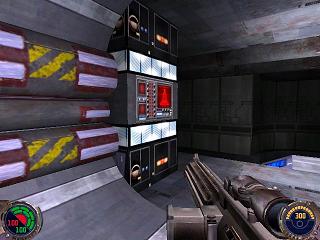
1-7
Hit this switch. Now turn around and head back to the
generator. Go around it and take the lift up. Shoot the
grating and fall through. |
 |
Shot
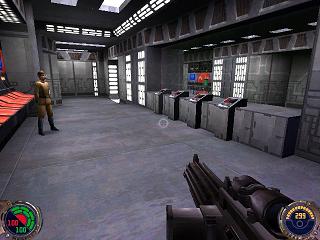
1-8
Shoot the officer and get his supply key. Hit the four
switches to let Jan in. Leave the room and turn right.
Take the first door on your left. |
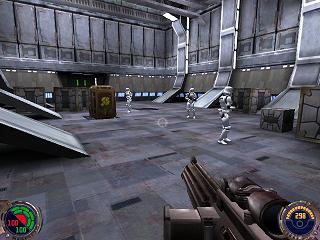 |
Shot
1-9
You should be in this room. Continue straight. |
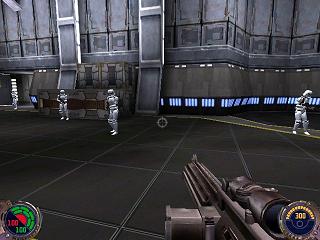 |
Shot
1-10 (Secret Area)
You should now be here. Make sure to get the Light Amplification
Goggles on top of the box on your left. Now take the lift
on the right side of the room down. Turn on the goggles
because its dark. Walk around and find racks with good
on the wall. They are a secret area. Now find a small
room and go through the door. |
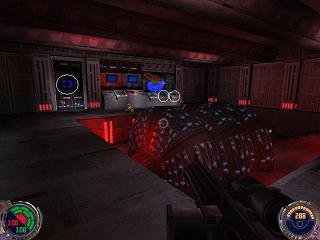 |
Shot
1-11
You need three things in this room. You need to walk up
to the blue icon at left. You must hit the two switches
on right. After that, leave the room. You deactivate the
force field by hitting the switch. Go up the stairs. Turn
left and go all the way to the end of the hall. |
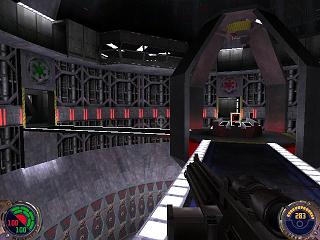 |
Shot
1-12
you will now be here. Go through the door with the green
insignia above it. Shoot the gun and open the door. |
 |
Shot
1-13
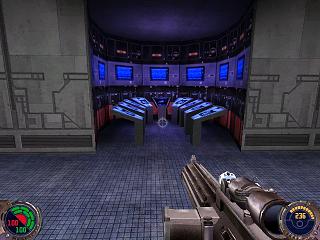
Turn right and go to the command room to get the goodies.
Now come back out and go down the closest stairs. Walk
around in the room until you find this console. Hit the
switch. Now go back to the place shown in figure 1-12
(The blue insignia). Run down the hall and take the first
door on the left. You should now be in the place shown
in 1-10. Save Jan and take her back to the console in
the first part of this step. |
 |
Shot
1-14
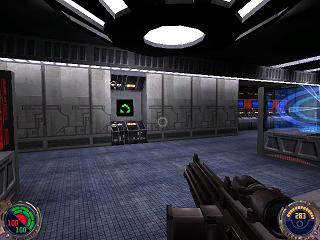
She will hack the console. Now go up the steps by the
console and take a right. Open the first door on your
left. You should now be here. Make sure to walk up to
the green symbol. Now go back to the main reactor shown
in figure 1-12. This time go into the area with the red
insignia. Open the door and go through the door on ground
level, not the one up the steps. |
 |
Shot
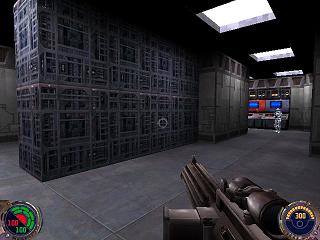
1-15
You will now be here. Continue and go through the door
on your right. |
 |
Shot
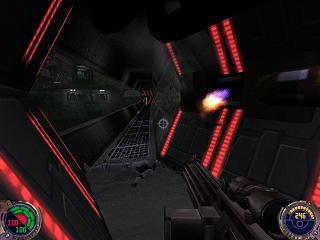
1-16
Run across the passage and watch 'er blow. Go down to
the area with the probe droids and then take the lift
in the middle of the room. |
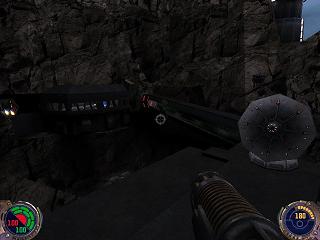 |
Shot
1-17
You will now be here. Run across the top of the passage
on the right and drop in the hole. Open the door. |
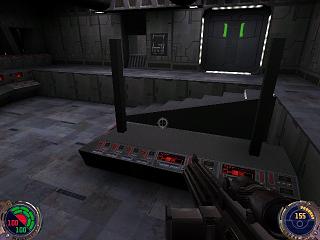 |
Shot
1-18
Take the door out of this room. |
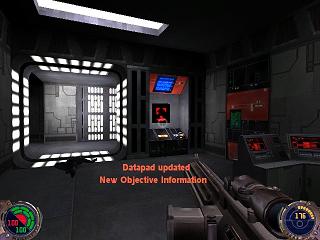 |
Shot
1-19
Make sure you walk up to the red code. Then leave the
room and go right until you end up in the area with the
stairs. Go up the stairs and take the lift up. |
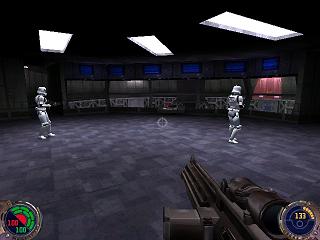 |
Shot
1-20
Hit this switch and then hug the wall and hit the other
switch. Now fall down onto the platform and go to the
terminal. |
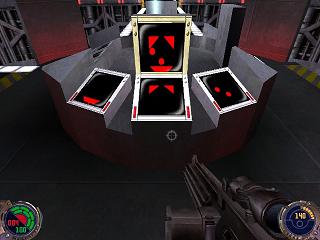 |
Shot
1-21
You have to change the three small pictures individually
until the main image is formed on top. (The pictures can
be found in your mission computer.) They are also show
here. |
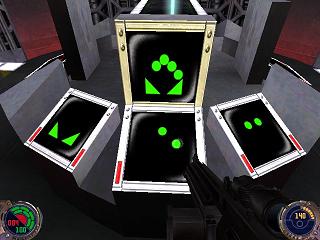 |
Shot
1-22
Here is the green one. |
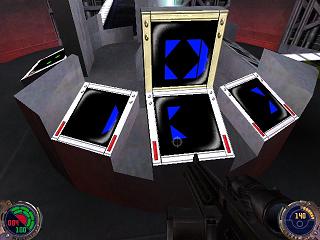 |
Shot
1-23
Here is the blue one. Now hit the three switches on the
remaining side. A platform will appear. Go to the door
to finish off the level. |